How to create a simple vector logo in Krita
If you need to create a quick and simple logo for your website, you can easily do this yourself without any previous knowledge of design or Photoshop.
As a long-time user of Linux as my chosen system for my laptop (I started with Debian and later moved to Ubuntu), I greatly appreciate an app working smoothly for me. One of my favourite apps ever is Krita. The design is slick minimalist, and it works great. I’ve used it for years for digital paintings, doodling, etc. Krita is a free (open-source) multiplatform tool that you can use on your favourite operating system.
In this tutorial, I will use Krita to create a logo, but feel free to check out Inkscape , another free, open-source, multiplatform, and powerful tool. While Krita is more focused on Digital Painting, Inkscape is more targeted towards vector graphics editing, but Krita will do fine for a simple logo.
Install Krita following instructions here . Once installed, open the app.
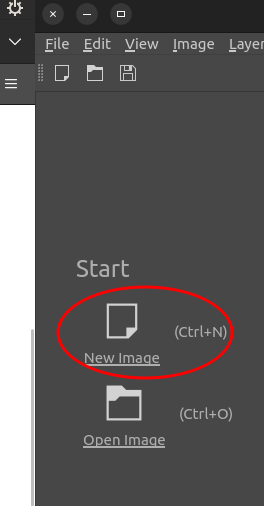
The first step is to create a new file. When you open Krita, you can see the Start menu on the left panel. Either Ctrl+N or click on New Image. Alternatively, you can go to the top menu and click File > New…
Then, we need to adjust the document dimensions and resolution. I made it 1000x1000 (300 PPI), but you can choose any width or height. Just make sure it’s big enough to have ample space to work on details and ensure quality scaling of the graphic.
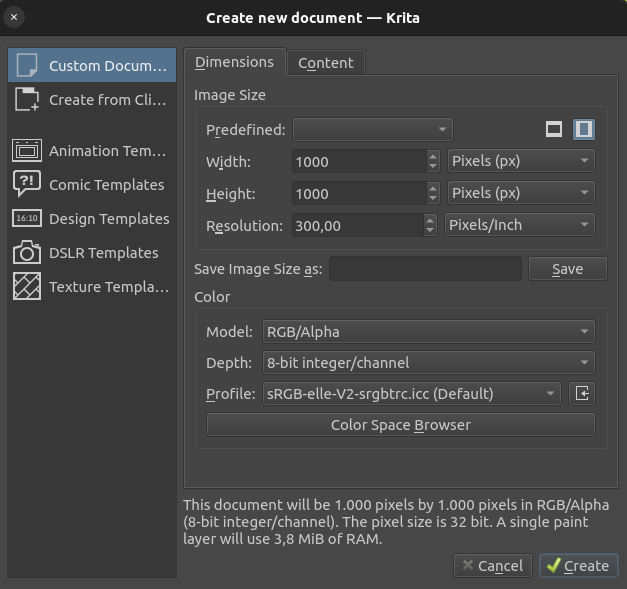
Pixel density, or pixels per inch (PPI), refers to the number of pixels packed into one inch of a digital display. In resolution-independent vector graphics, pixel density becomes crucial when converting them to raster images, ensuring high quality and sharpness by specifying the appropriate PPI for printing or displaying on different devices.
Go to Choose Workspace in the top right. Use the Small Vector workspace, which gives you tool options in the right panel, next to the Layers tab. We need to use Fill and Stroke (or Outline).
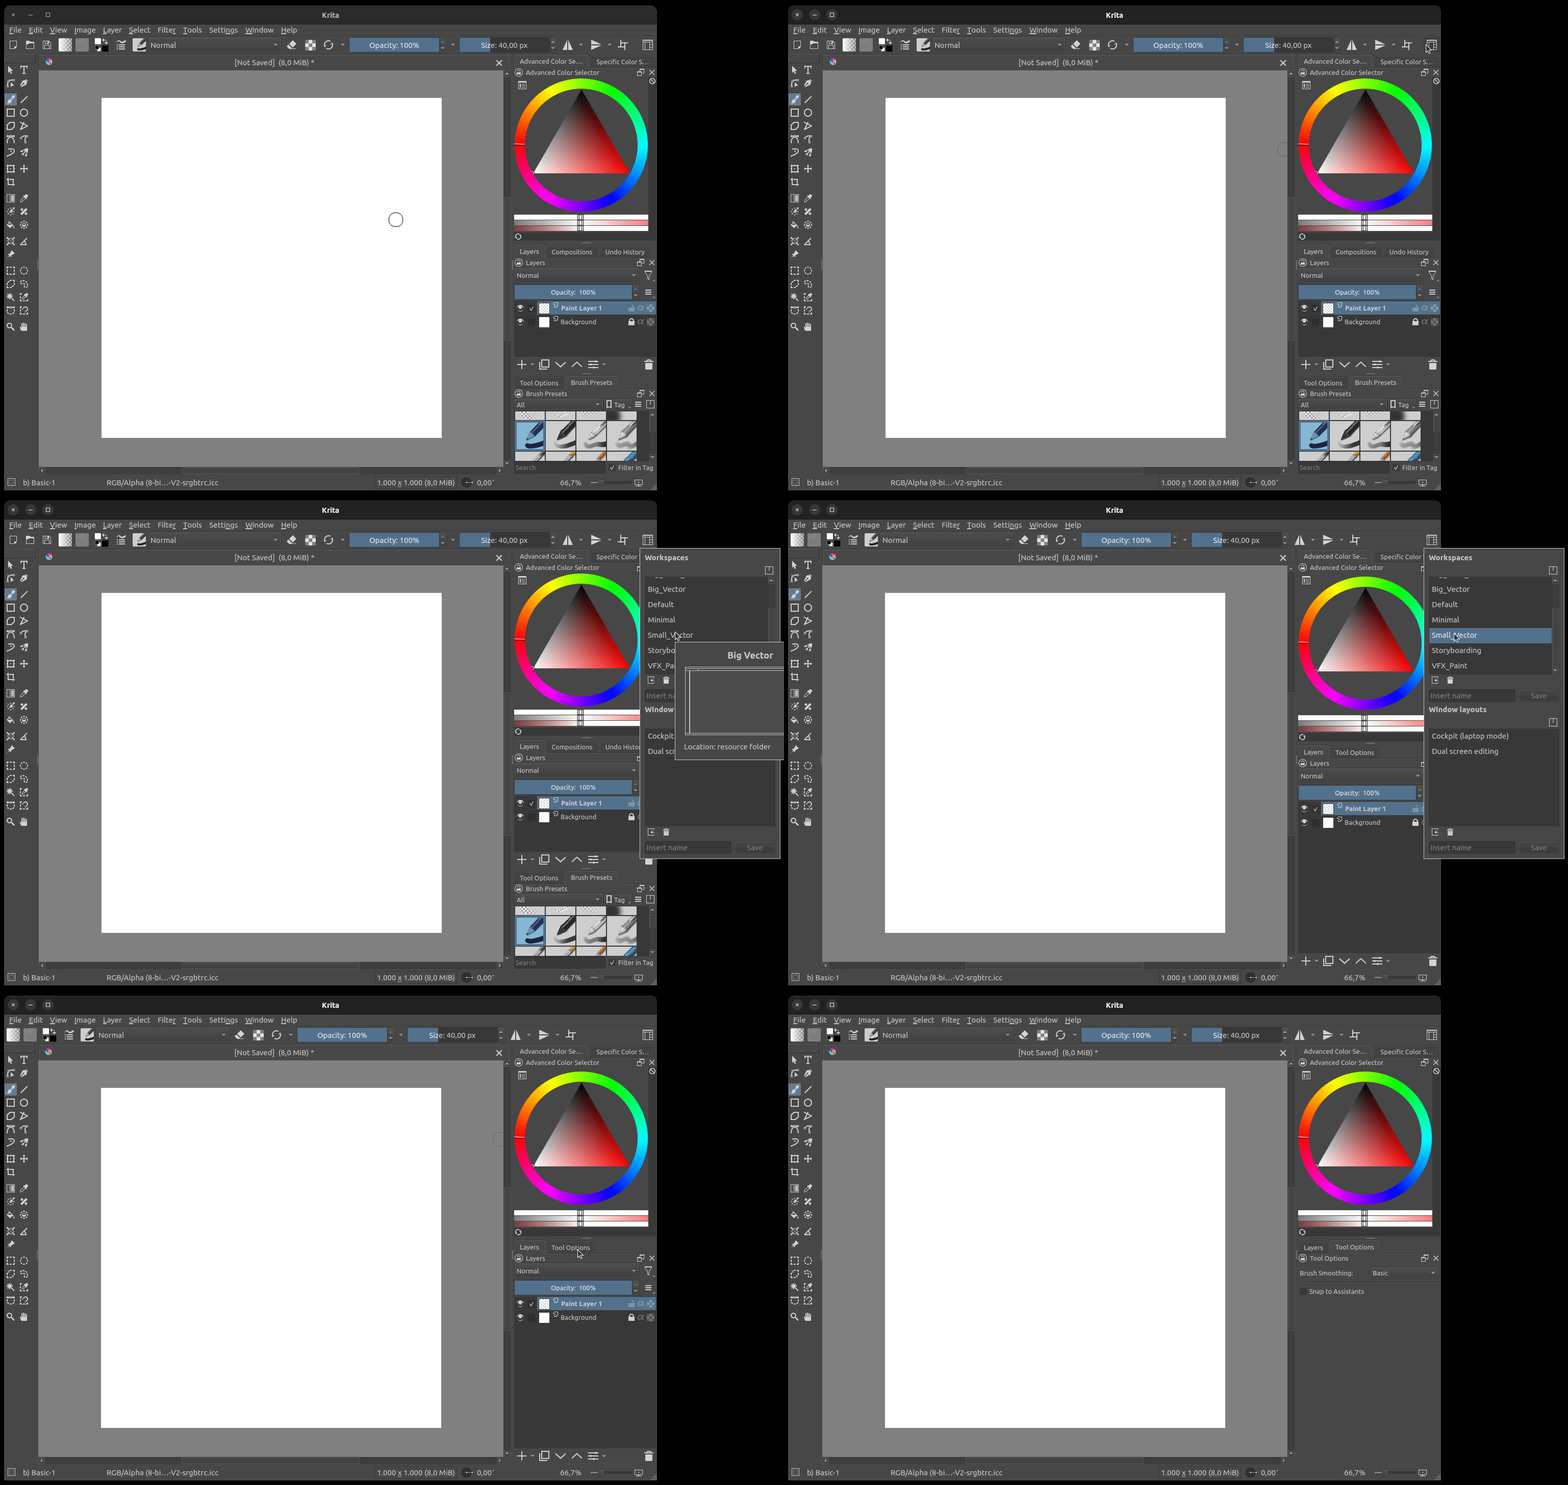
Let’s create a Vector Layer, which we will use to draw our logo. Either press Shift+Insert on your Keyboard or click on the + small down arrow > Add Vector Layer in the Layers box.
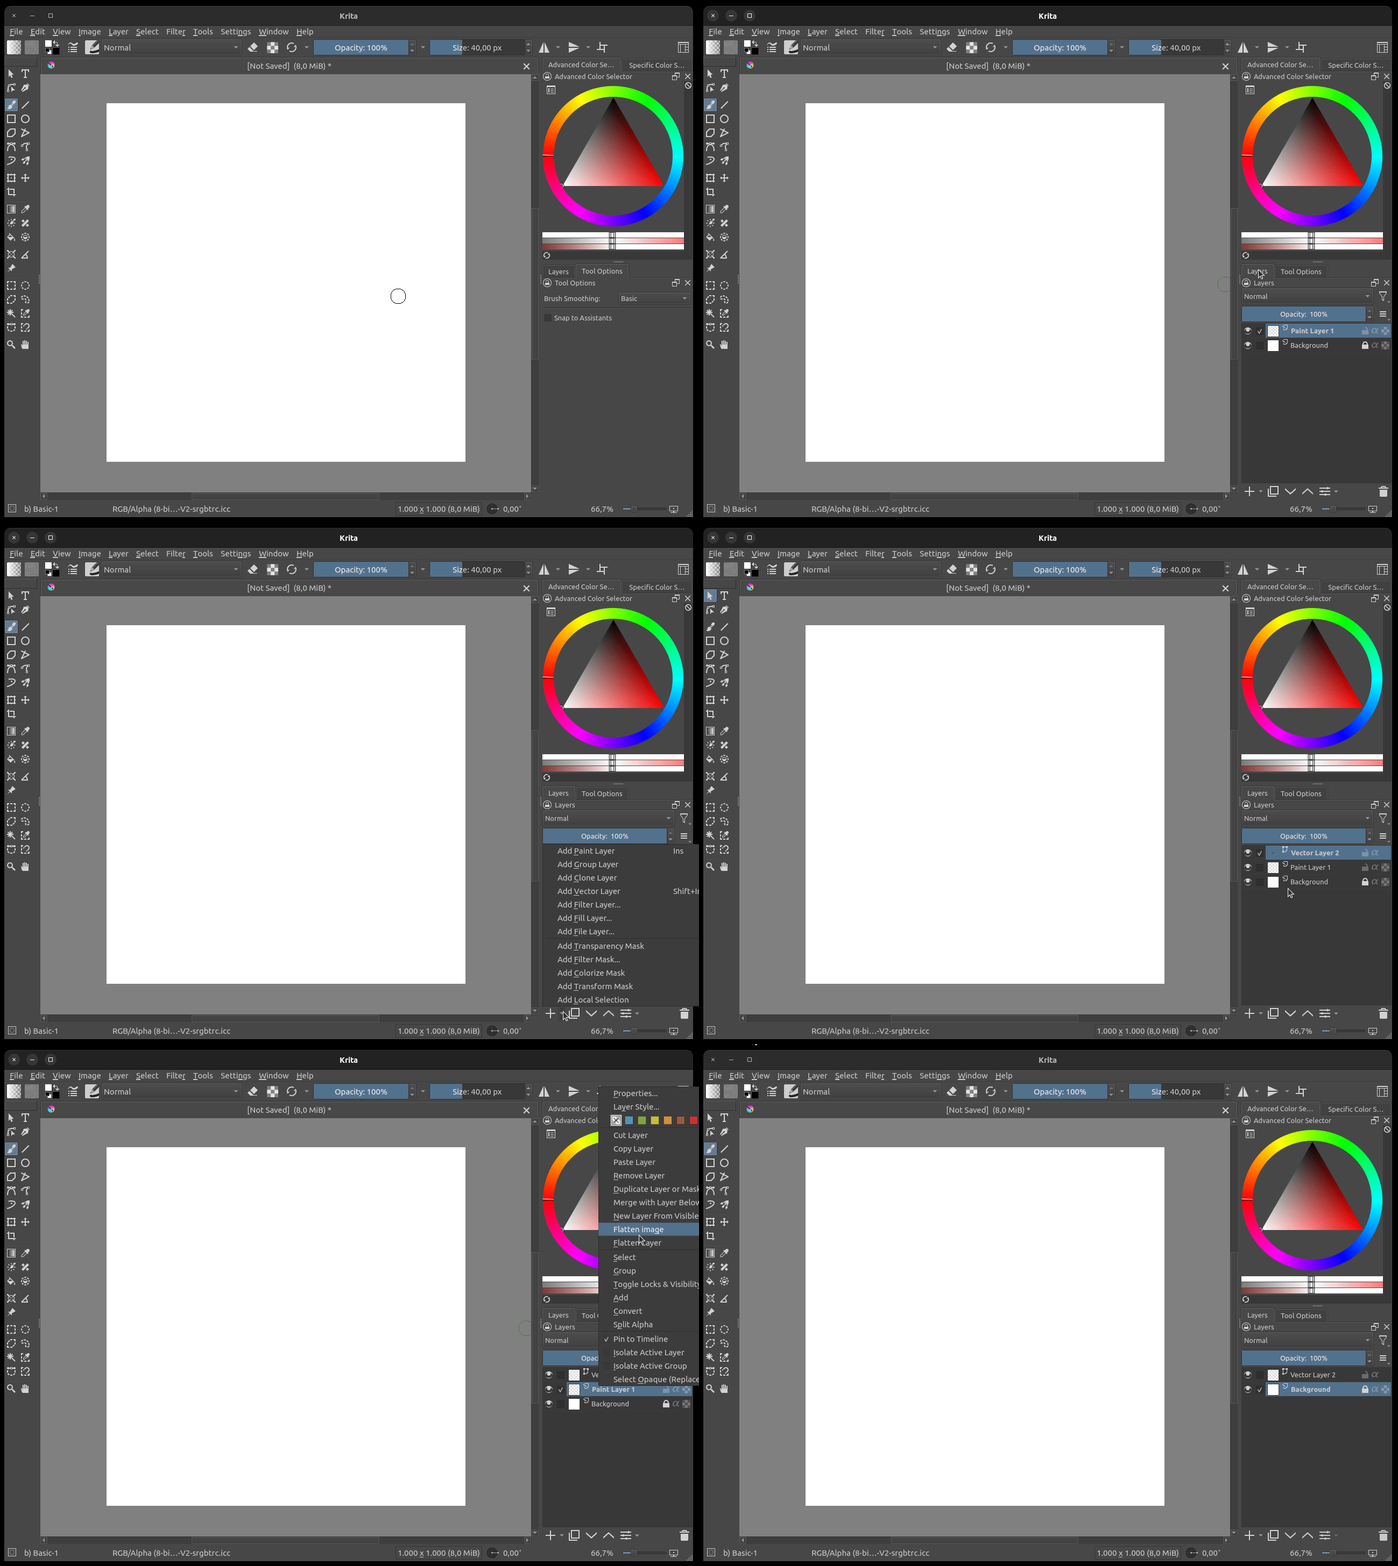
To make it easier, we will show a Grid and choose Snap to Grid, which will align any line you are drawing to the grid and make it easier with precision. Feel free to Show Rulers as well.
- Show Grid: Either go to View > Show Grid and check it or press Ctrl+Shift+’’
- Snap to Grid: Either go to View > Snap To > Snap to Grid and check it or press Ctrl+Shift+;
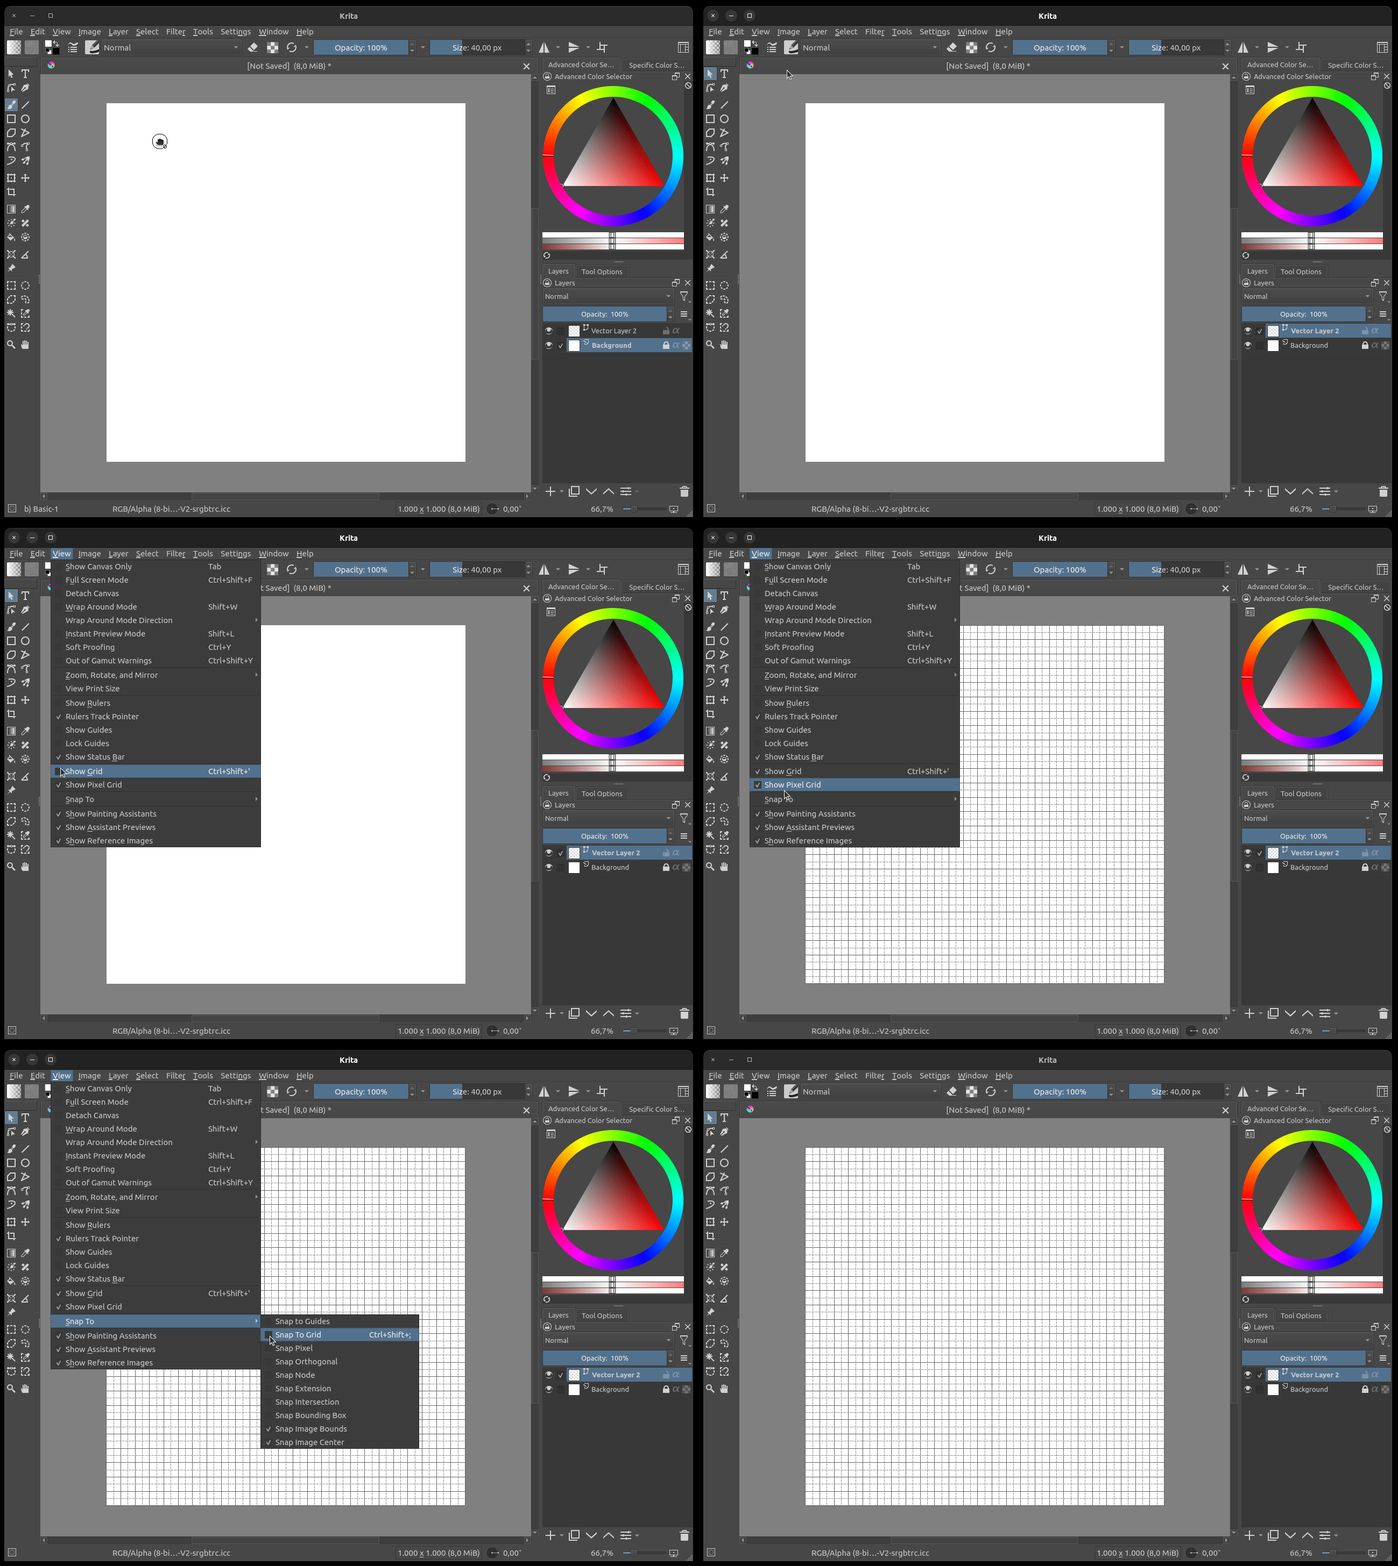
Let’s play around with different tools to get comfortable with them. You have to select the Vector layer, then choose any of the tools from the left: Ellipse Tool, Polygon Tool, Free Hand Path Tool. Then select the Tool Options tab and change the Geometry Options > Fill and Outline.
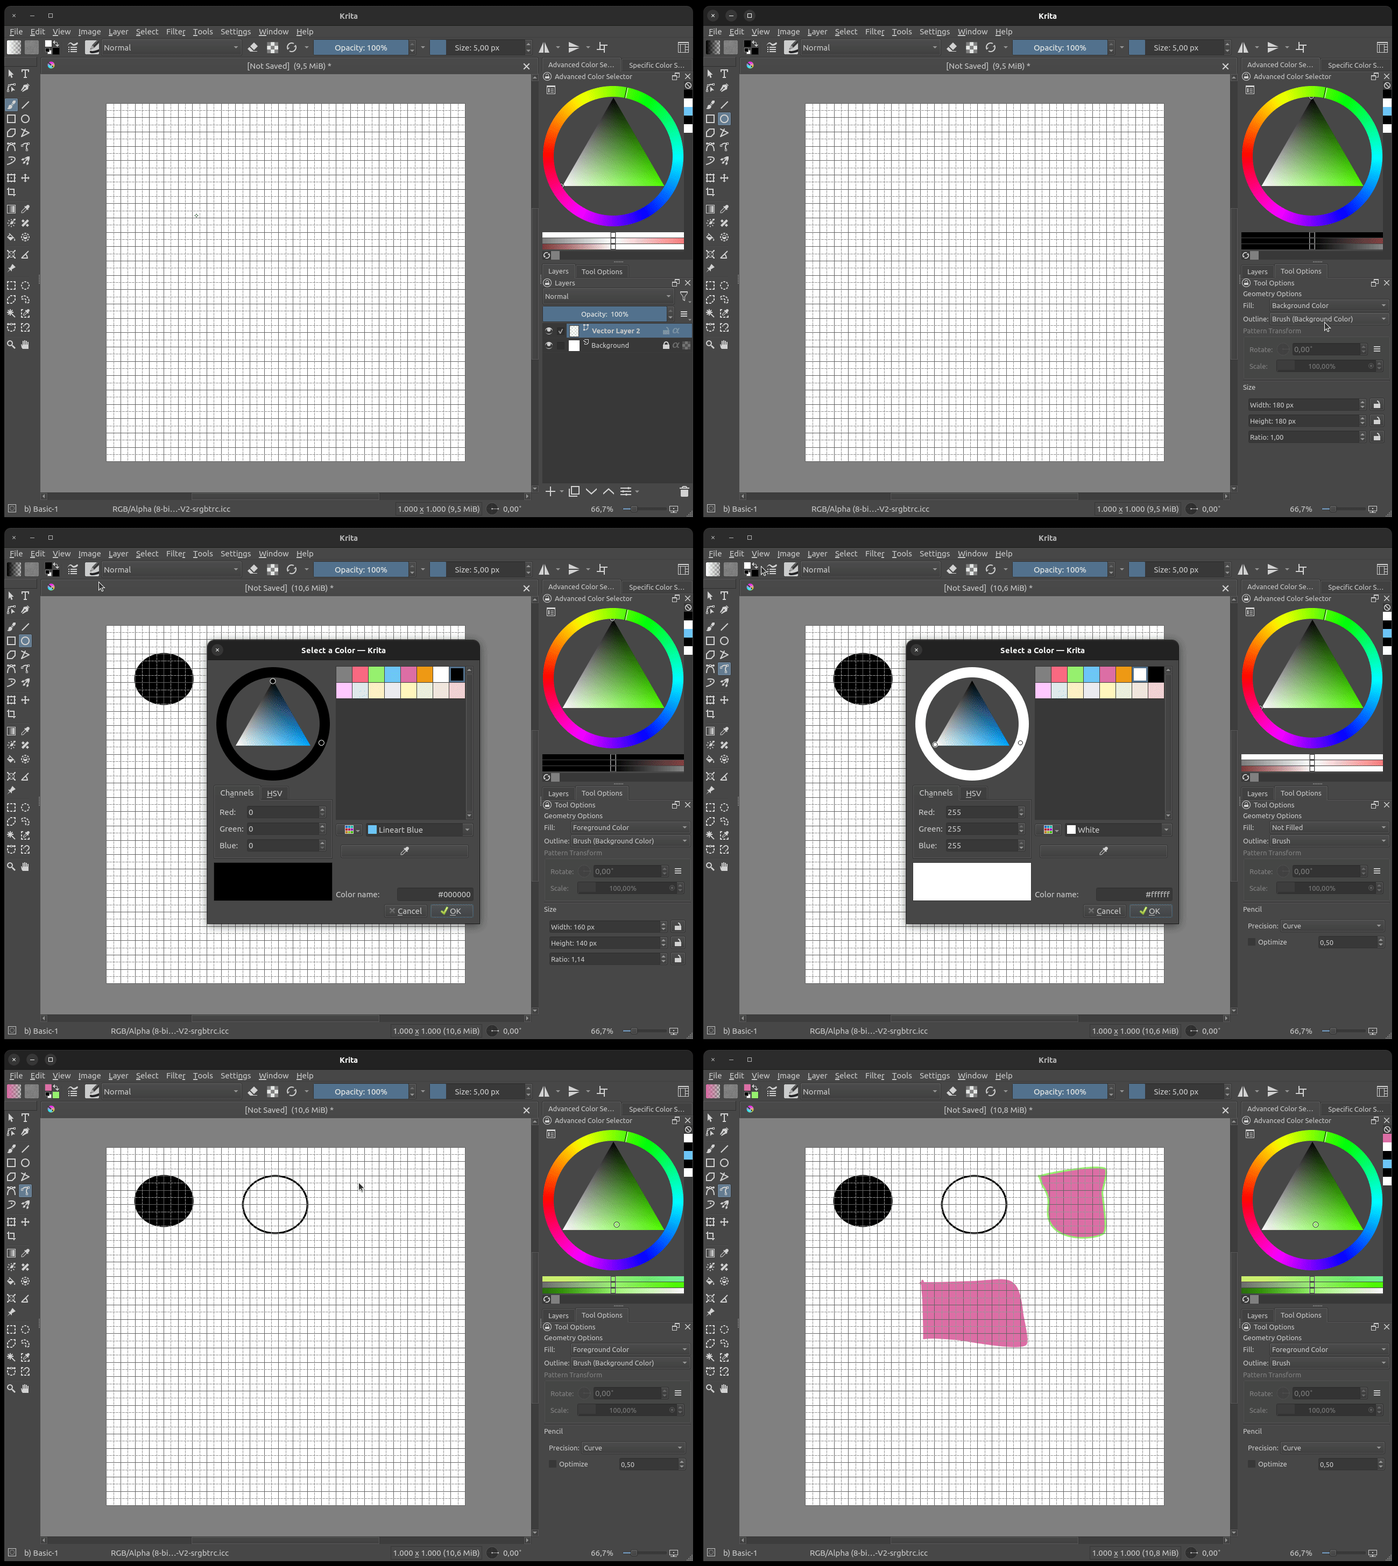
The foreground colour is the one on top (Black), and the Background colour is the secondary one (White).

Let’s move on to creating the actual logo. I will draw a simple rocket and add some text. I use the Polygon tool, with Fill > Background Colour (in my case, Cyan, and no Outline. (You can do the same with the Freehand Path Tool just to draw something.)
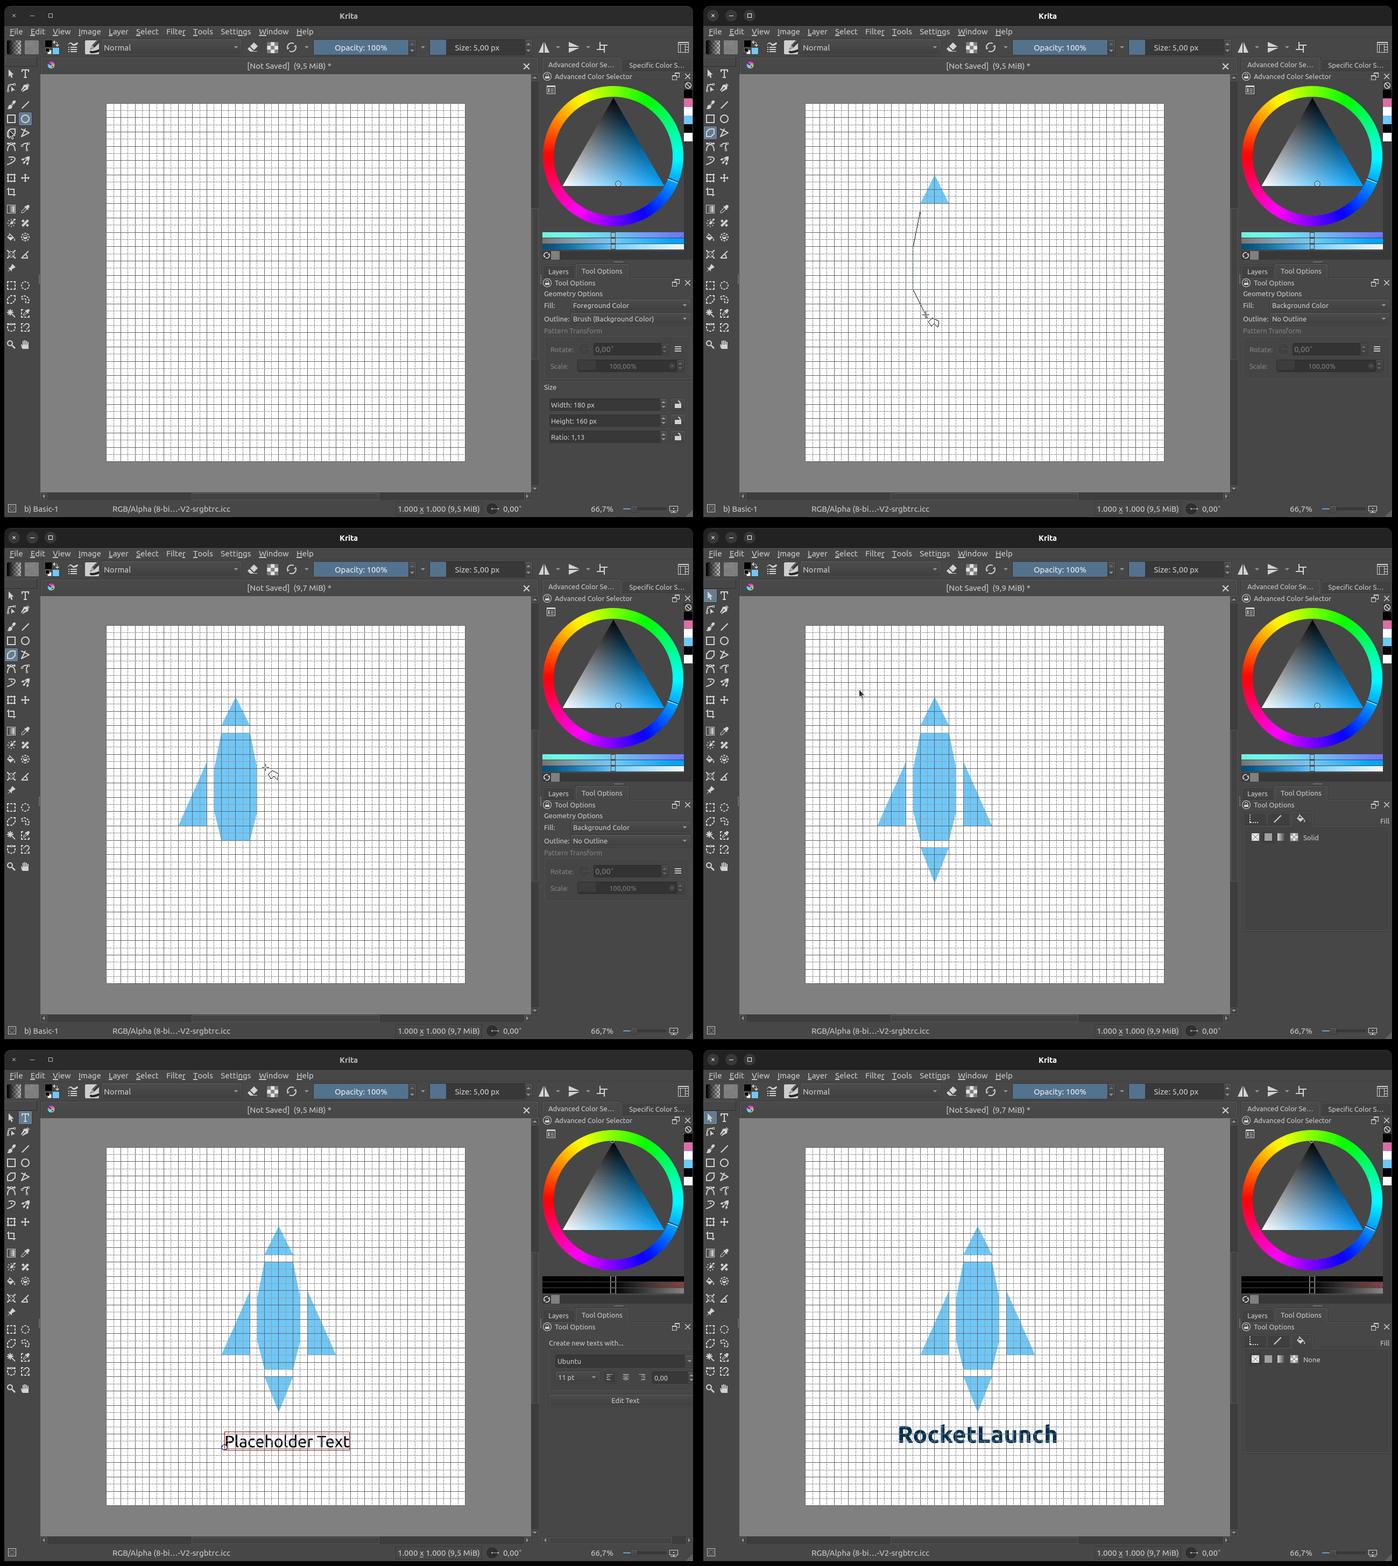
Then, to save the logo as an SVG (Scalable Vector Graphics), make sure to select the Vector layer, then go to the top menu, Layer > Import/Export > Save Vector Layer as SVG. Save your Krita file as well for future modifications.
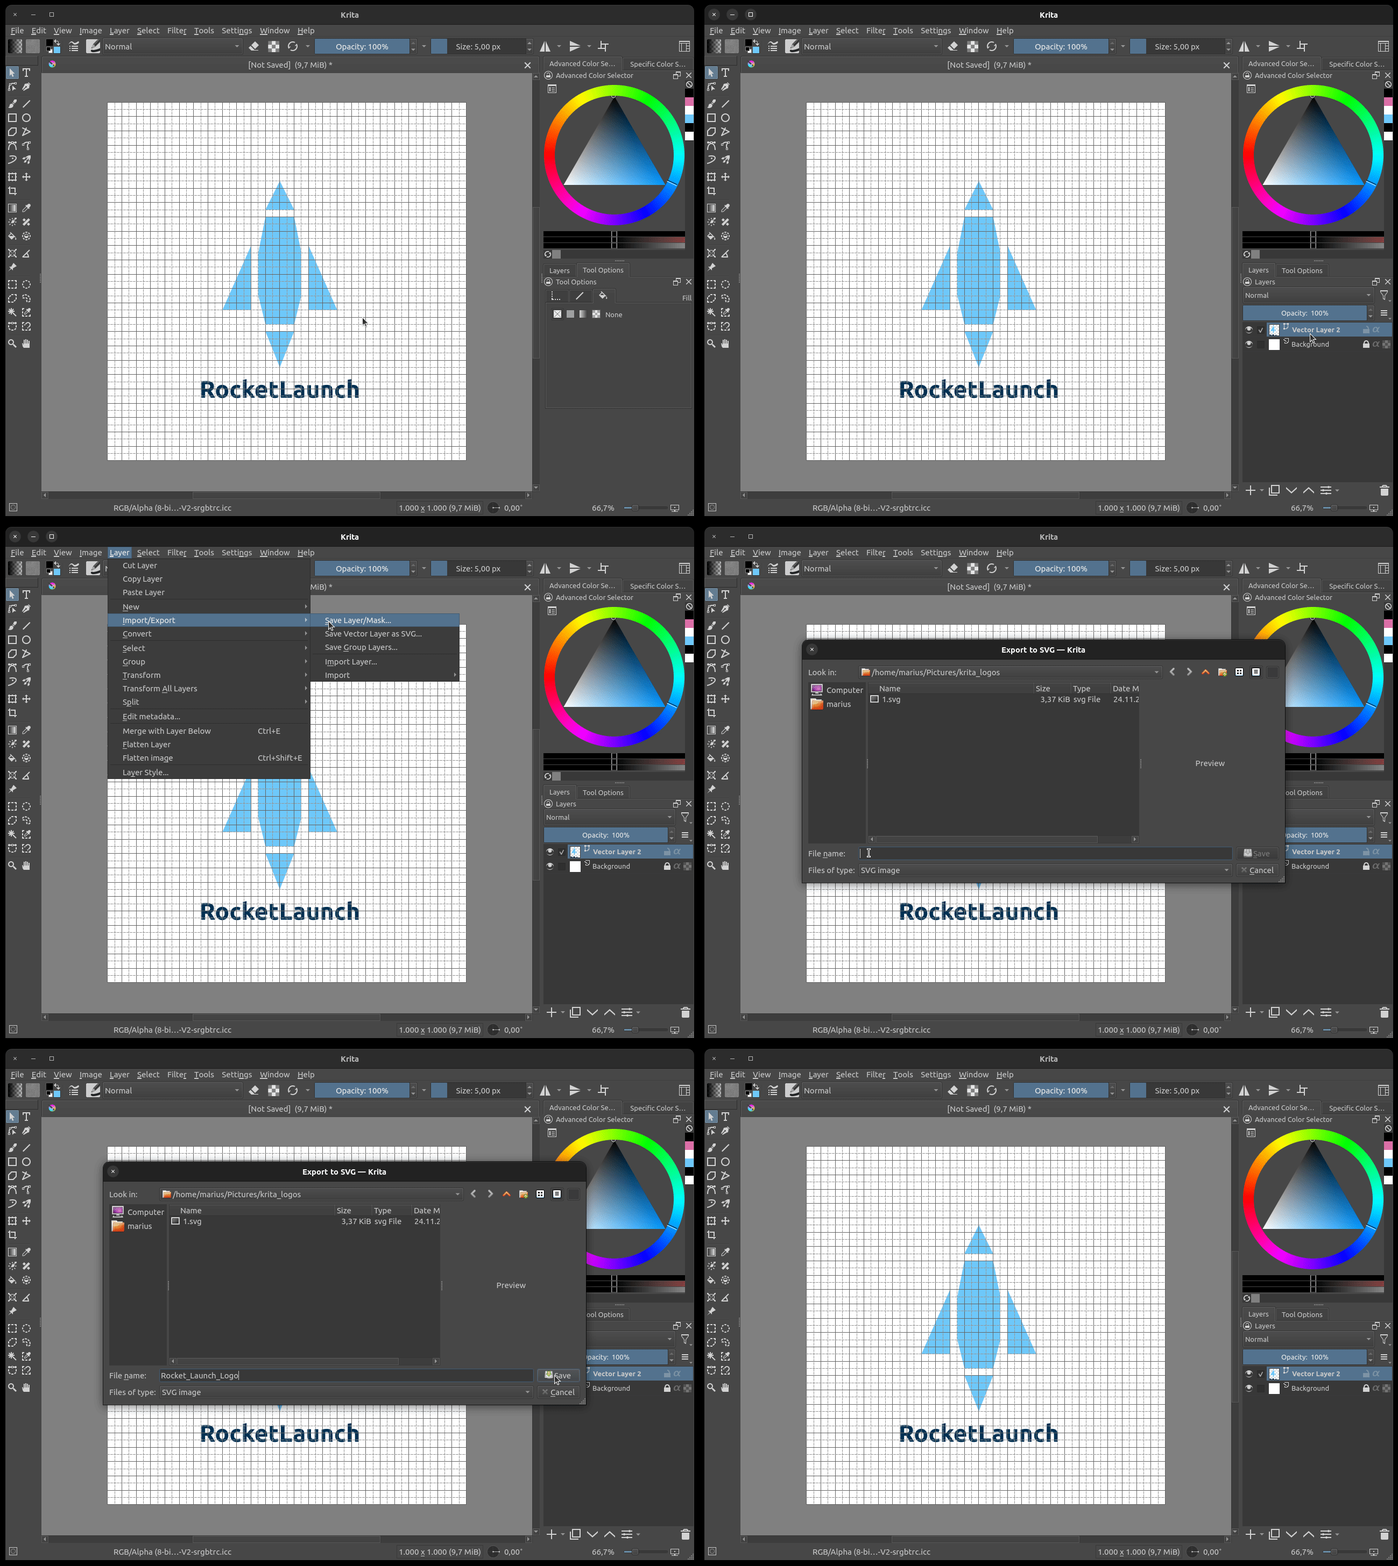
Now you have your SVG logo ready to use.
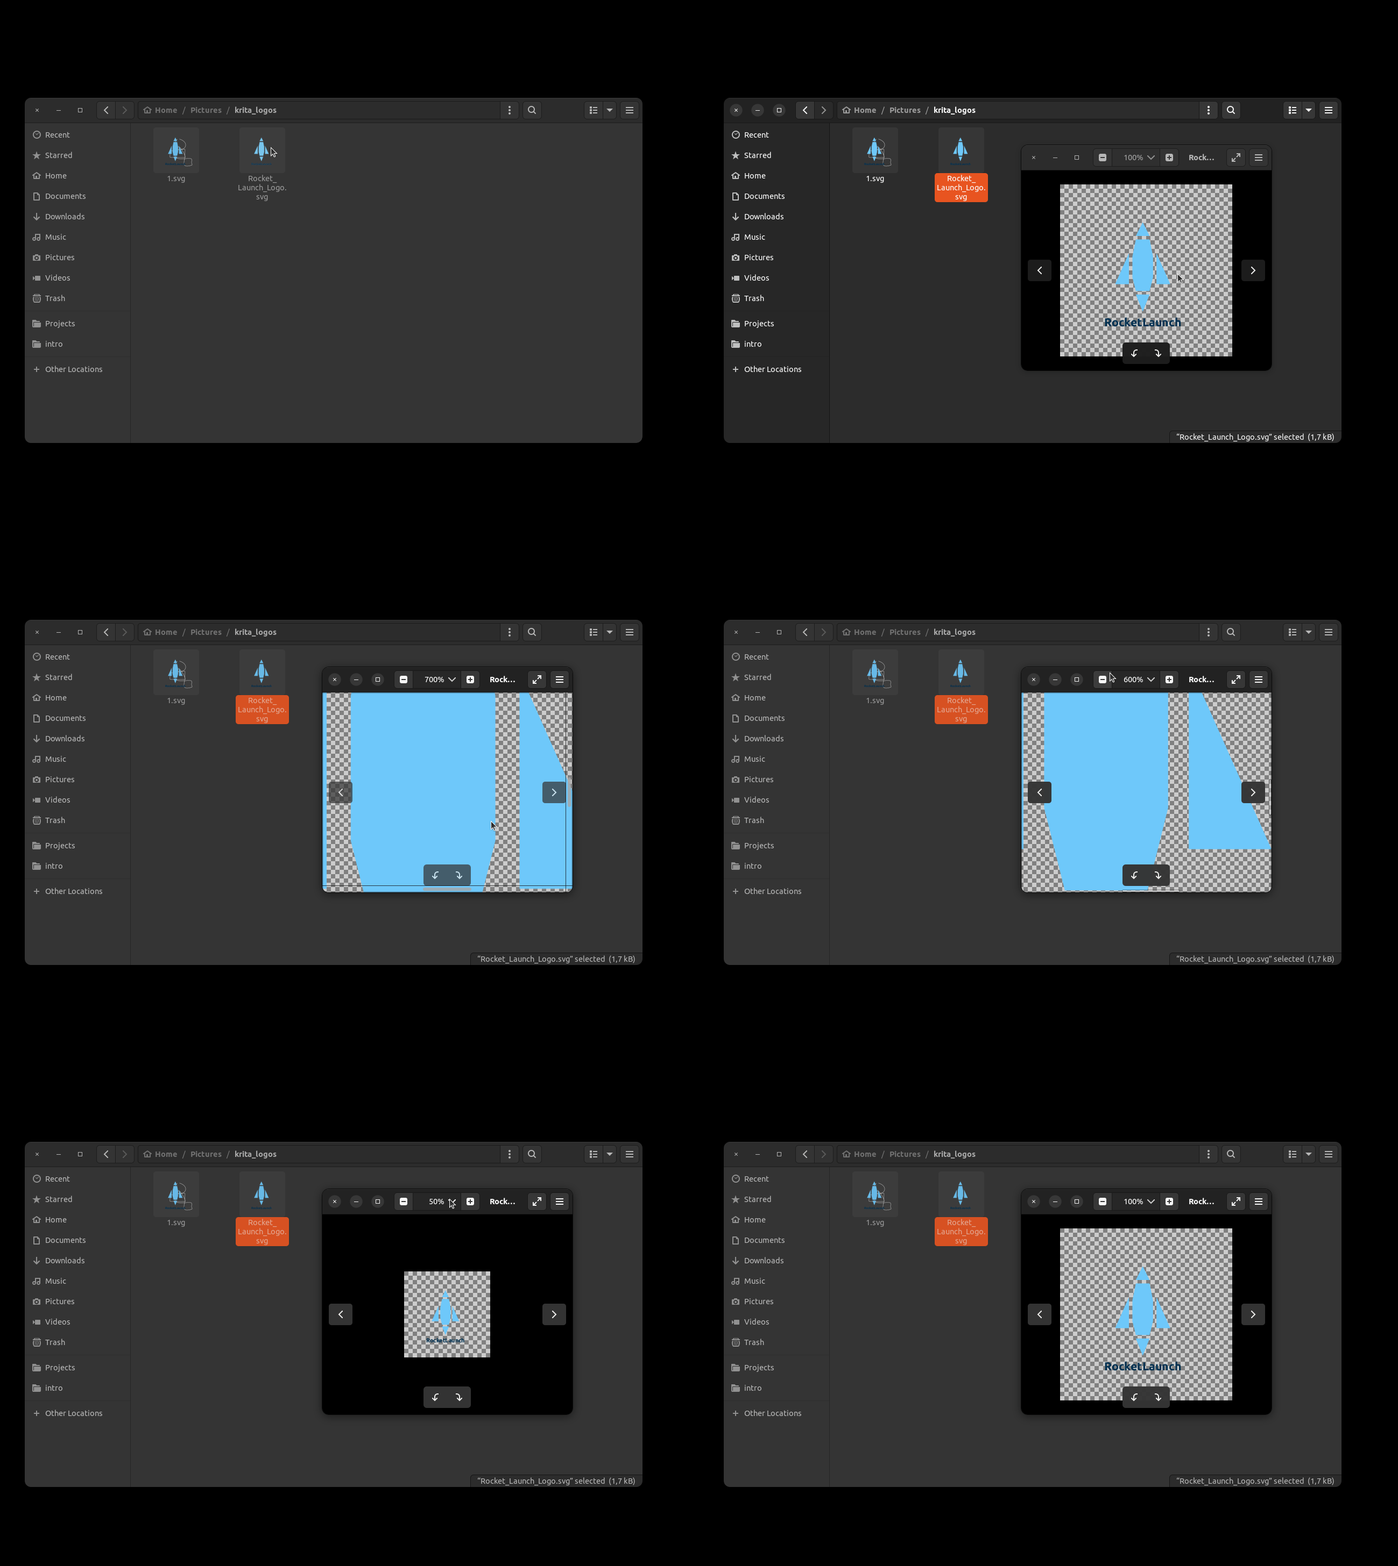
Here’s the SVG logo.
